Storyboard mode is one of Sora 2's most powerful features, allowing you to plan and generate multi-scene videos with precise control over each segment.
What Is Storyboard Mode?
Instead of writing a single prompt and hoping for the best, Storyboard mode lets you define individual scenes, specify transitions between them, and control the camera movement for each segment.
How to Use It
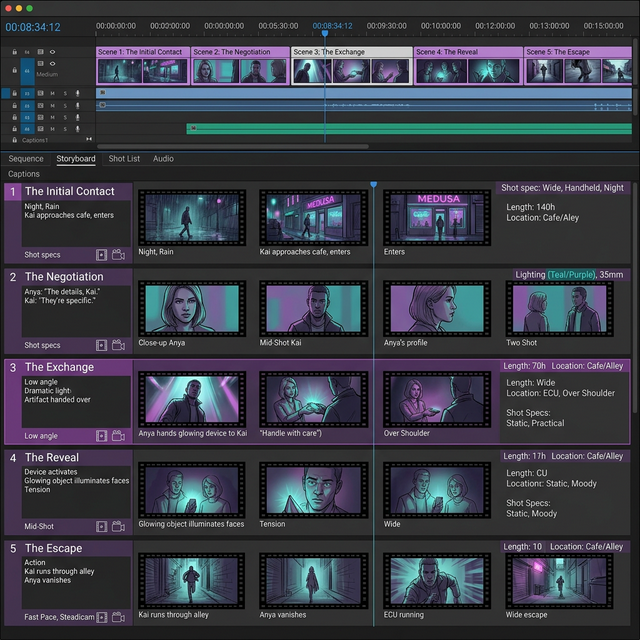
Step 1: Create Your Storyboard Open the Sora 2 interface and select "Storyboard" mode. You'll see a timeline where you can add scenes.
Step 2: Define Each Scene For each scene, write a prompt describing the visual content, specify the duration (2-20 seconds), and choose camera movement.
Step 3: Set Transitions Choose between cut, dissolve, fade, and wipe transitions. Each has adjustable duration.
Step 4: Maintain Consistency Use the "Character Lock" feature to maintain consistent character appearance across scenes. Upload a reference image for best results.
Step 5: Generate Hit generate and Sora 2 will process each scene individually while maintaining visual consistency.
Tips for Better Results
- Keep individual scenes simple — complex prompts per scene reduce quality
- Use consistent lighting descriptions across scenes
- The dissolve transition works best for mood changes
- Hard cuts work better for action sequences
Limitations
- Maximum of 10 scenes per storyboard
- Total duration cannot exceed 60 seconds
- Character consistency works best with human subjects
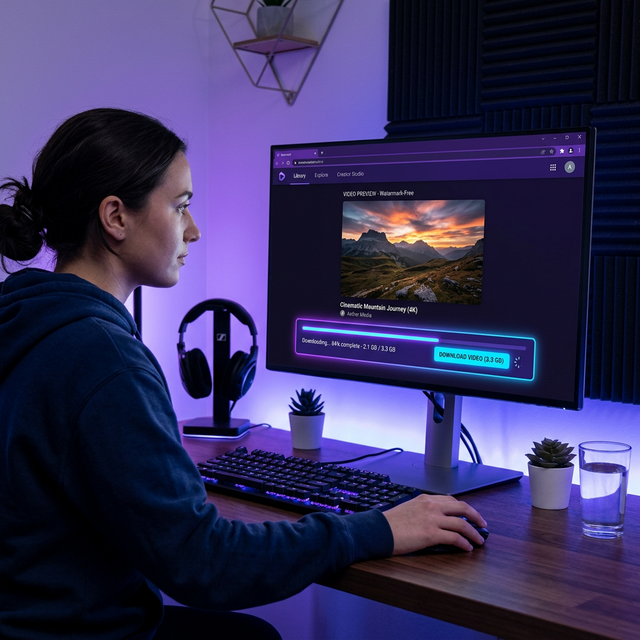
Download your completed storyboard videos using Soradown for editing in professional tools.